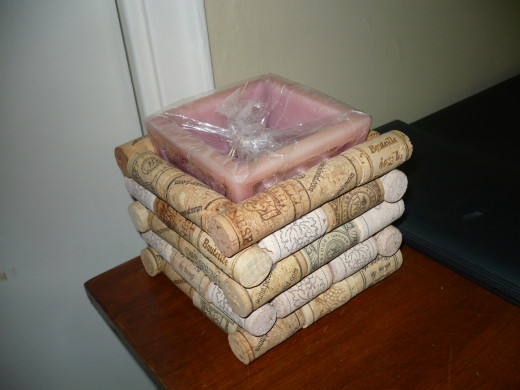
I gave this as a gift that is why the candle is still wrapped in clear wrap. | Photos by Suzzycue
DIY Wine Bottle Cork Garden Bench
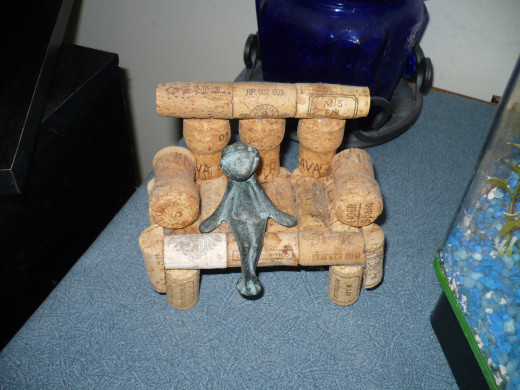
So cute. Drink your bubbly! | Source
Wine Bottle Cork Square Candle Holder
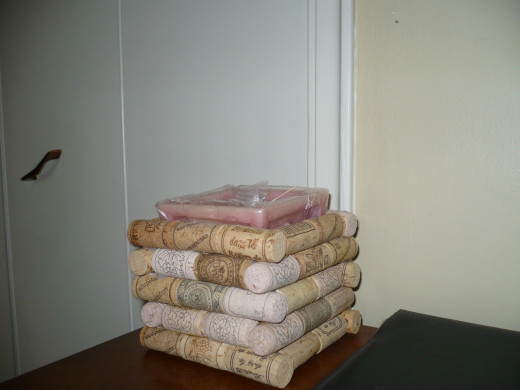
I love these and when you have three together it really makes a statement. | Source
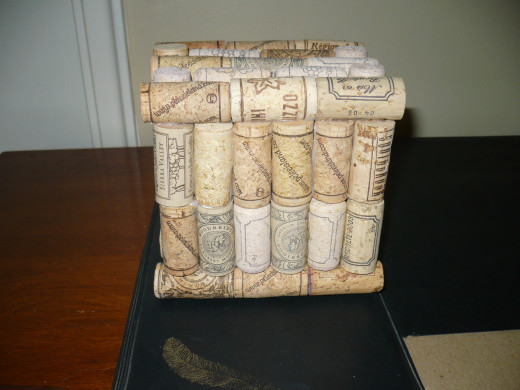
Bottom view | Source
Wine Bottle Cork Square Candle Holder
Square Candle Holder
Nothing trims up your square candles and says wow, when you light up this homemade cork masterpiece. Put three of these square cork candles, in different heights, together on your table to really make a statement in any room.
Materials:
45 corks
hot melt glue gun
2 –8 inch glue sticks
3 inch Square Candle
- Step 1: Glue 5 corks side to side to make a row. Repeat twice to complete 3 rows of 5 corks each. Then glue the three rows together to make the square bottom of the candle holder.
- Step 2: Glue 3 corks end to end. Repeat 5 times to make 6 sets of 3 corks each.
- Step 3: Glue 2 corks end to end. Repeat 5 times to make 6 sets of 2 corks each.
- Step 4: Take a set of 3 corks and glue them on top of the ends of the square bottom from step 2 (See Picture.) Then rotate holder to the left and glue on 2 cork set. Rotate left again and glue on 3 cork set. Rotate left a final time and glue on another 2 cork set to finish first row. Repeat step 4 three times to cover a 3 inch square candle. If your candle is taller add as many rows as you like.
- Step 5: Add the candle to your holder and remember never to leave a lighted candle unattended.
More Wine Bottle Cork Projects for Fun
DIY Wine Bottle Cork Garden Bench
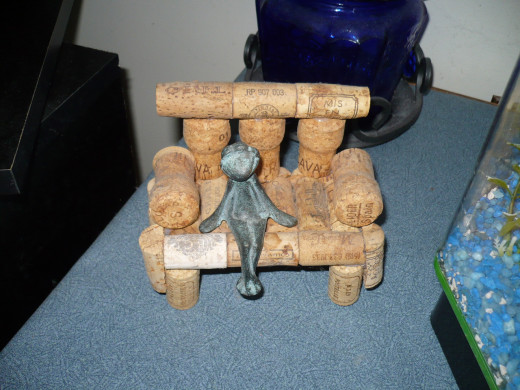
Awesome for a spice rack | Source
DIY Wine Bottle Cork Garden Bench
Garden Bench
This sweet garden bench can be made to any size by increasing the number of bench seat corks. You can put decorative flowerpots on it for an herb garden in your kitchen or display your favorite ornaments on it. The garden bench will look great in your patio garden or sitting beside an indoor fountain.
Materials:
22 corks roughly the same size
hot melt glue gun
2-8 inch glue sticks
4 champagne corks (optional)
coping saw/ work gloves
marine varnish(optional)
- Step 1: Put on the work gloves and cut 2 Champaign corks and 6 other corks lengthwise in half using the coping saw.
- Step 2: Glue 6 corks side to side to make the seat of the bench.
- Step 3: Glue 3 corks end to end . Repeat once. Then glue one set of three to front side of bench seat from step 2.
- Step 4: Find 4 corks the same size and shape and glue underneath four corners of seat. Now, you have the legs in place.
- Step 5: Take your cut corks from step 1 and start gluing the cut side, tops of them to right hand corner of bench seat. Glue them side-by-side until they go all the way around the back and end up on left hand front of bench seat. This makes the bench skirting. (See picture.)
- Step 6: Glue the 3 half’s of campaign corks to the top of the skirting at the back of bench seat approximately a ½ inch apart.
- Step 7: Center and glue the other set of 3 corks from step 3 onto the top of champagne corks to finish the back of the bench.
- Step 8: You finish this bench by gluing two corks on right and left sides on bench seat to complete the arms. (See picture.)
No comments:
Post a Comment